Use cloud apps for analysis
Categories:
Prior reading: Cloud apps overview
Purpose: This document provides information about cloud app options available in Verily Workbench.
Introduction
A cloud app is a configurable pool of cloud computing resources. Cloud apps consist of a virtual machine and a persistent disk, with some useful libraries and tools preinstalled. They’re ideal for interactive analysis and data visualization, and can be finely tuned to suit analysis needs.
Cost is incurred while the app is running, based on your configuration. You can pause the app when it’s not in use, but there’s still a charge for maintaining your disk.
You can create and manage multiple cloud apps per workspace. The apps can have different base images (e.g., one for TensorFlow experiments, another for working with R), and can differ in the machine configuration and number of attached GPUs. You might set up a many-core VM for prototyping on-node ML training or doing a complex analysis, and a cheaper lightweight app for setting up Dataproc clusters, where the heavy lifting is done on the Dataproc cluster, and the notebook that launches the cluster doesn't need to do a lot of computation.
Cloud app options
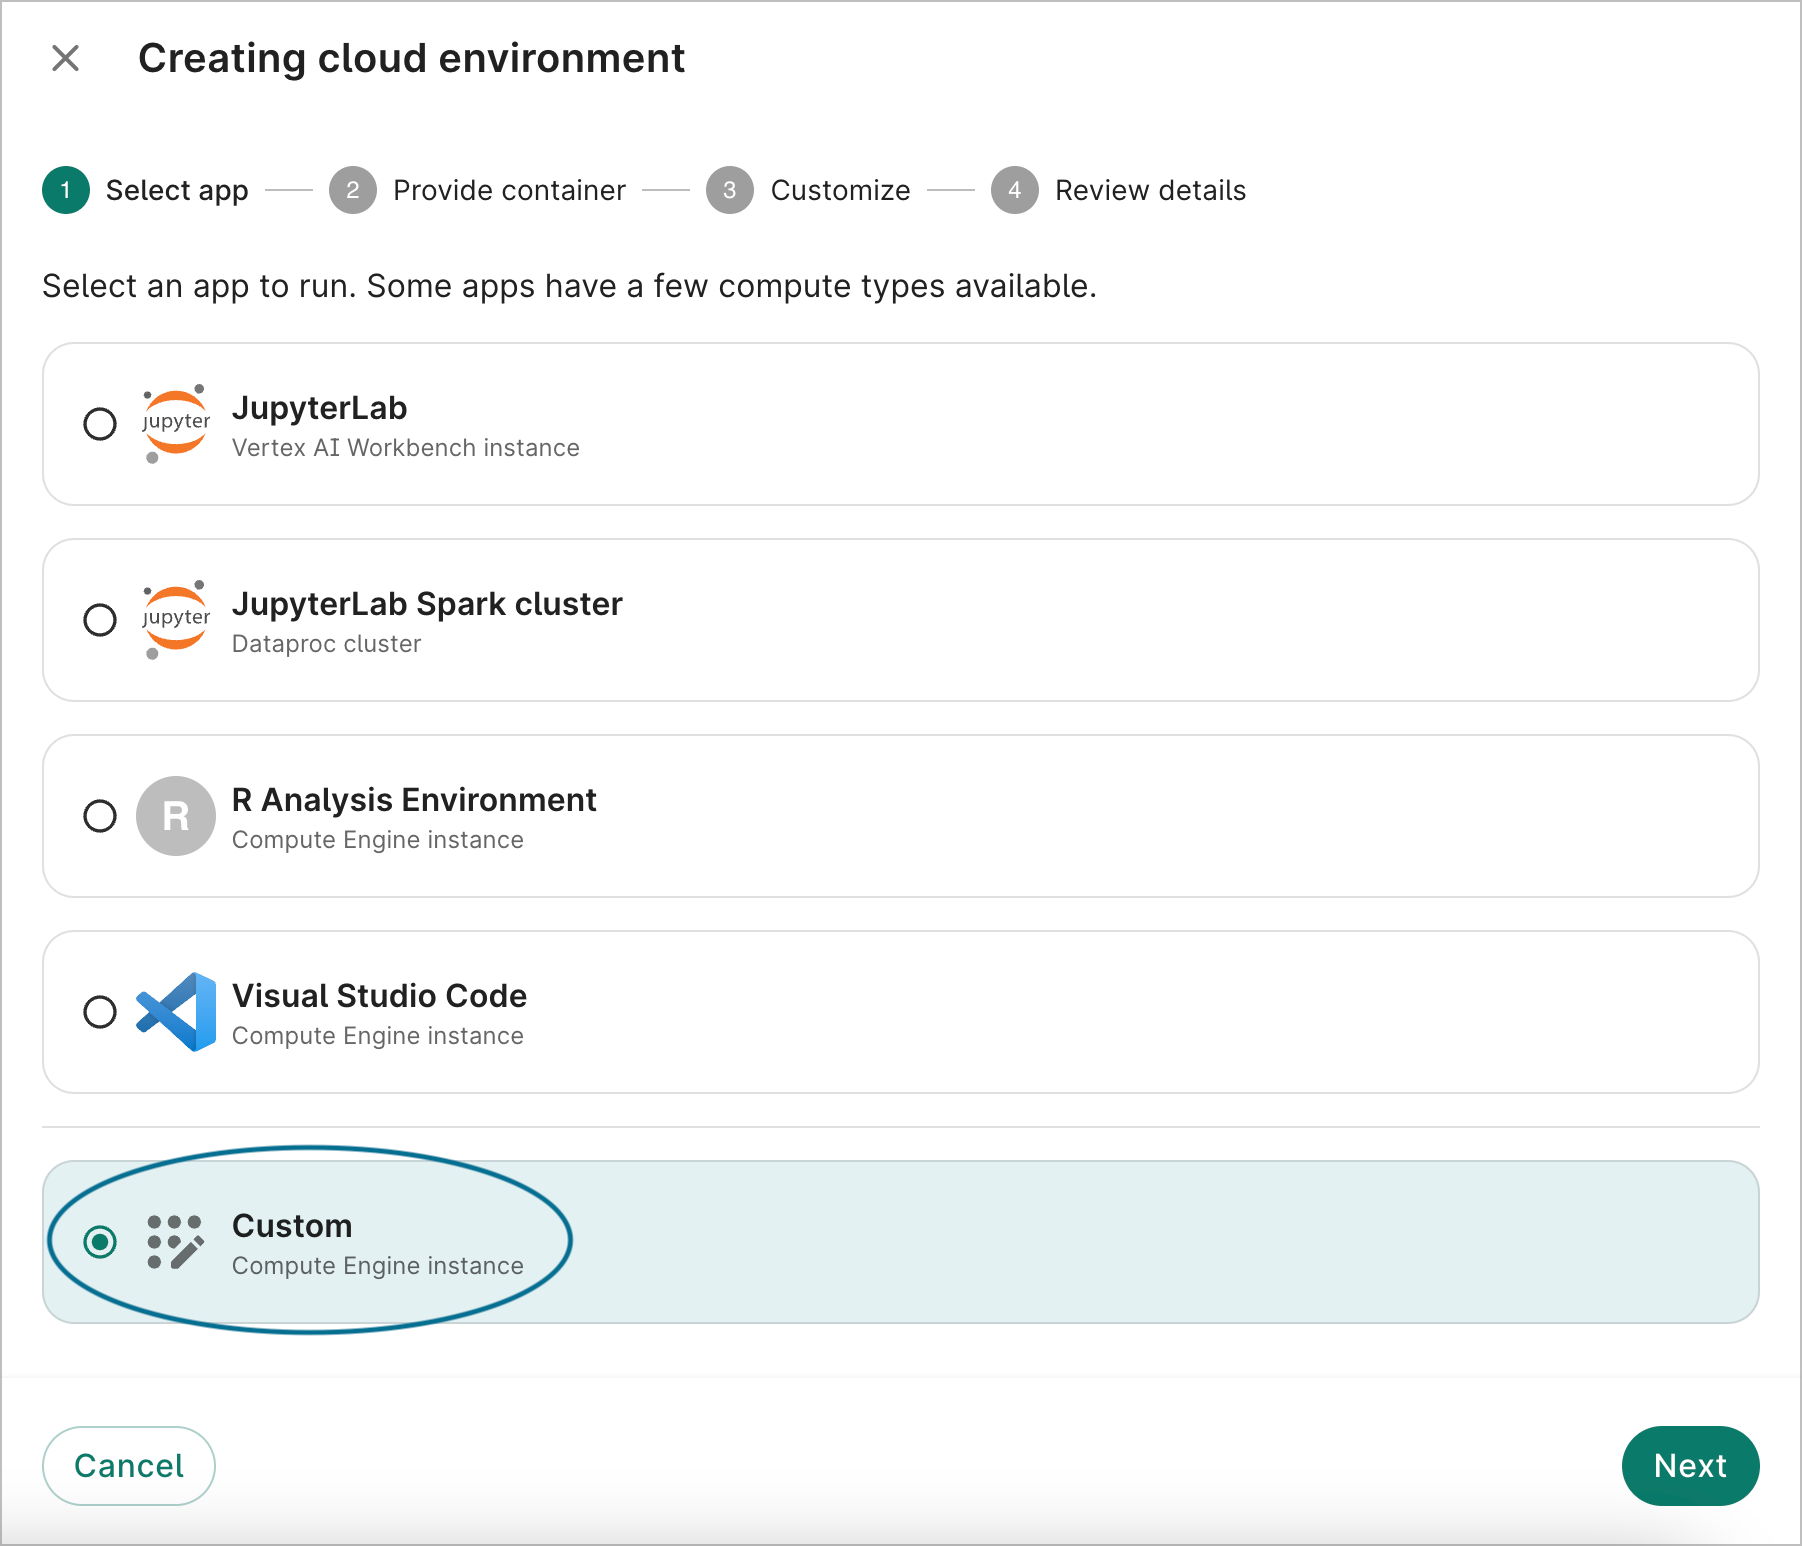
When creating a new app in a Workbench workspace, you have a few application options to choose from:
- JupyterLab (Vertex AI Workbench instance)
- JupyterLab Spark cluster (Dataproc cluster)
- R Analysis Environment (Compute Engine instance)
- Visual Studio Code (Compute Engine instance)
- Custom (Compute Engine instance)
JupyterLab Vertex AI Workbench
To create a new cloud app with JupyterLab Vertex AI Workbench, see Create a new cloud app (JupyterLab Vertex AI Workbench instance).
JupyterLab via Dataproc (managed Spark) cluster
If you select Spark cluster via Dataproc, see Using Dataproc and Hail.
R Analysis Environment and Visual Studio Code
If you select either R Analysis Environment or Visual Studio Code, you can modify the CPUs of the host VM. You can also configure the data disk size and autostop idle time for your app.
Custom
You can create a custom app and share it with other users in the same workspace. First, select Custom, then click Next.
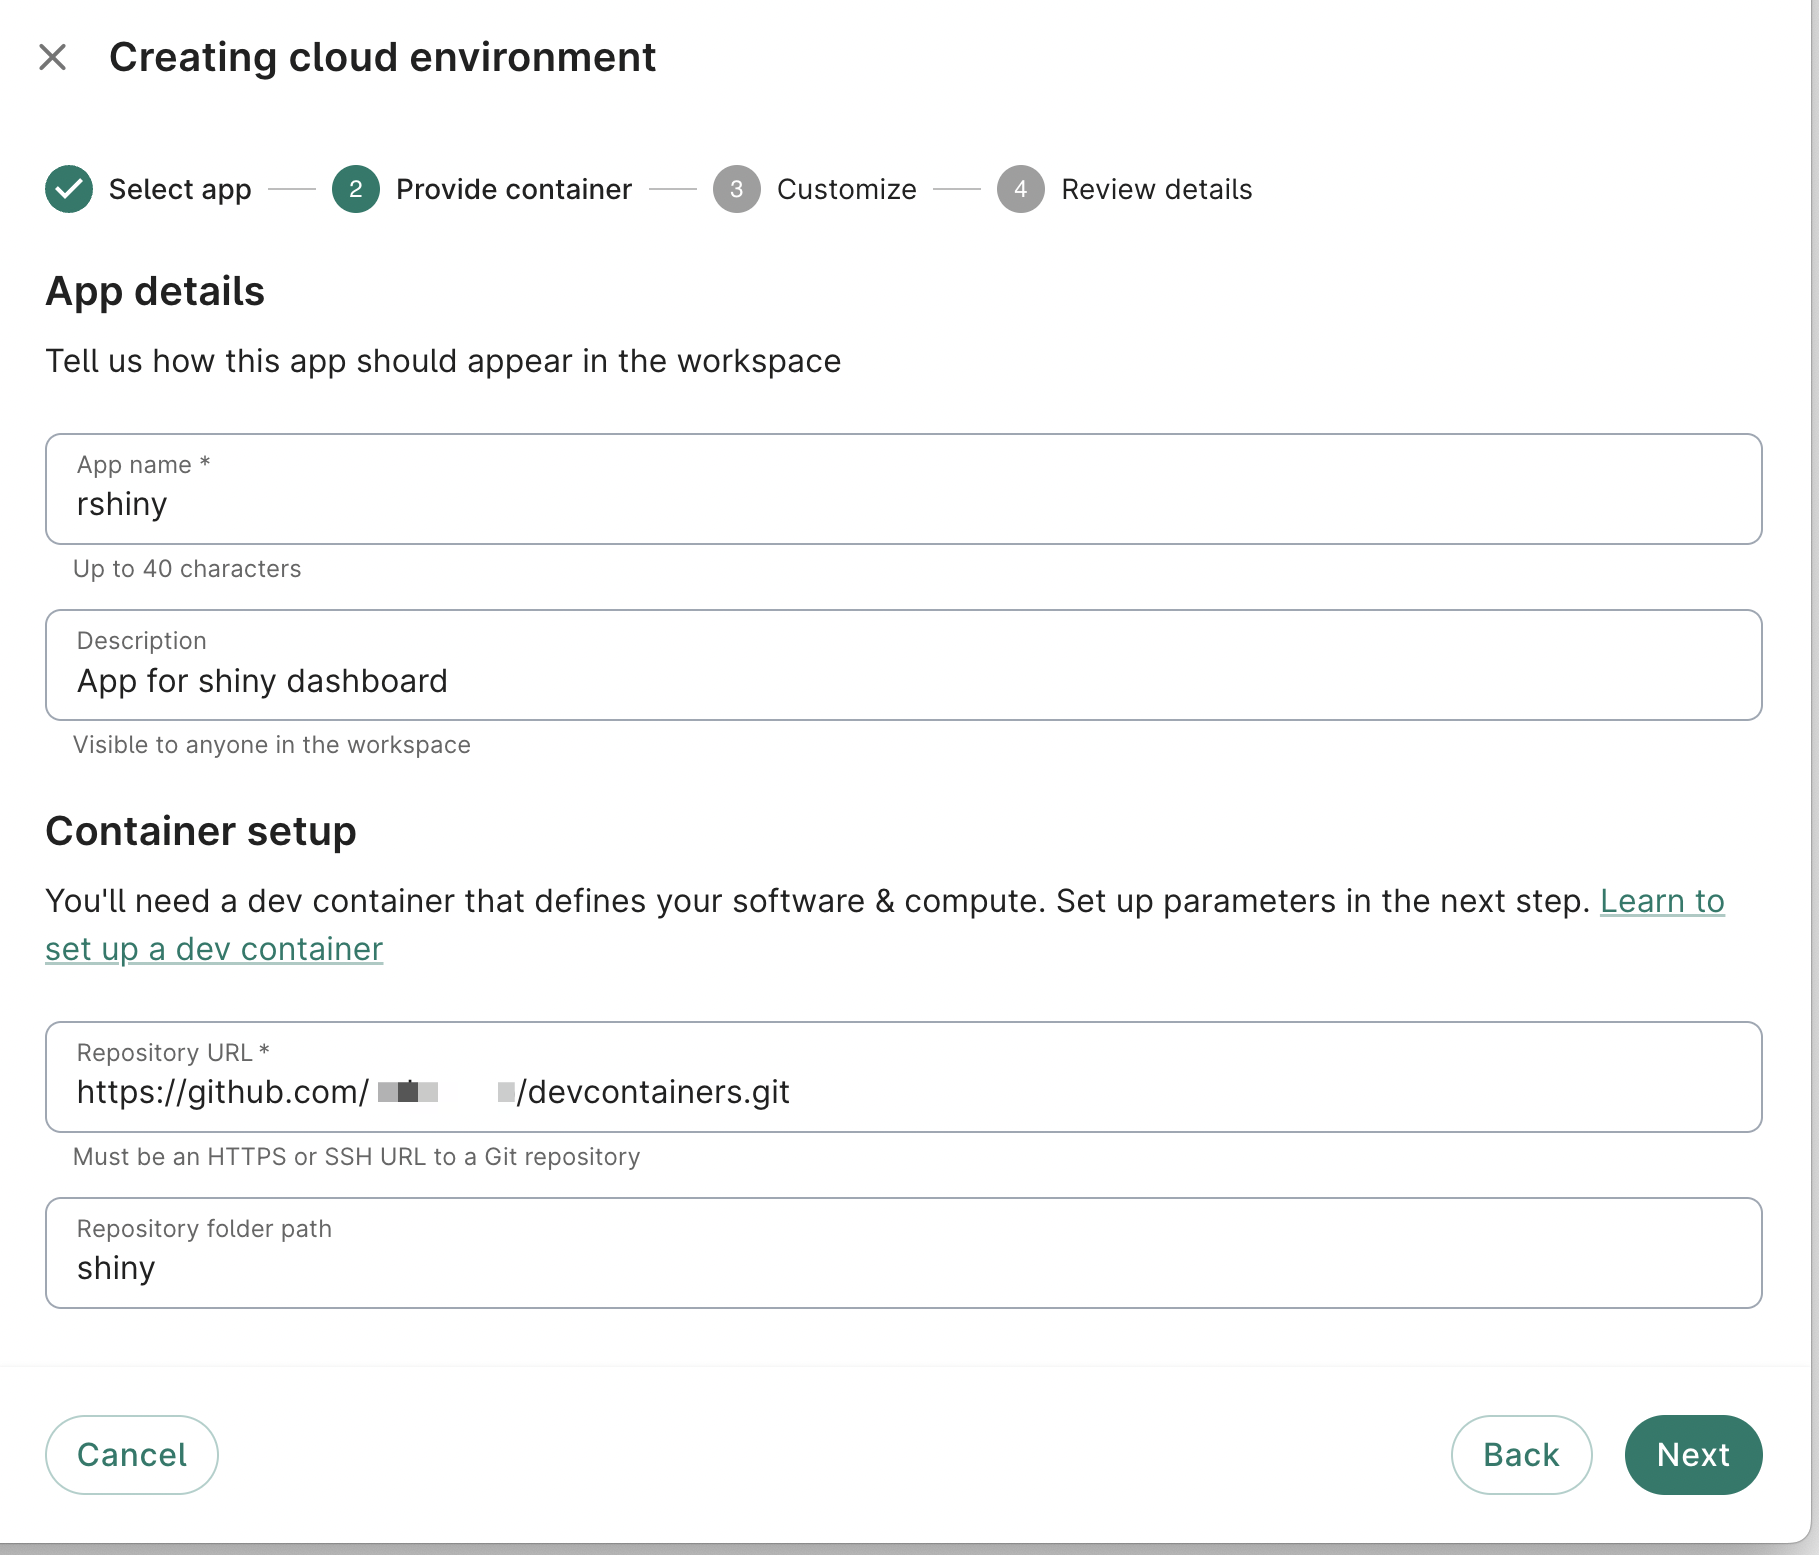
Then provide your public Git repository URL and the folder to your devcontainer.json definition if it's not in the root folder. It should look like this:
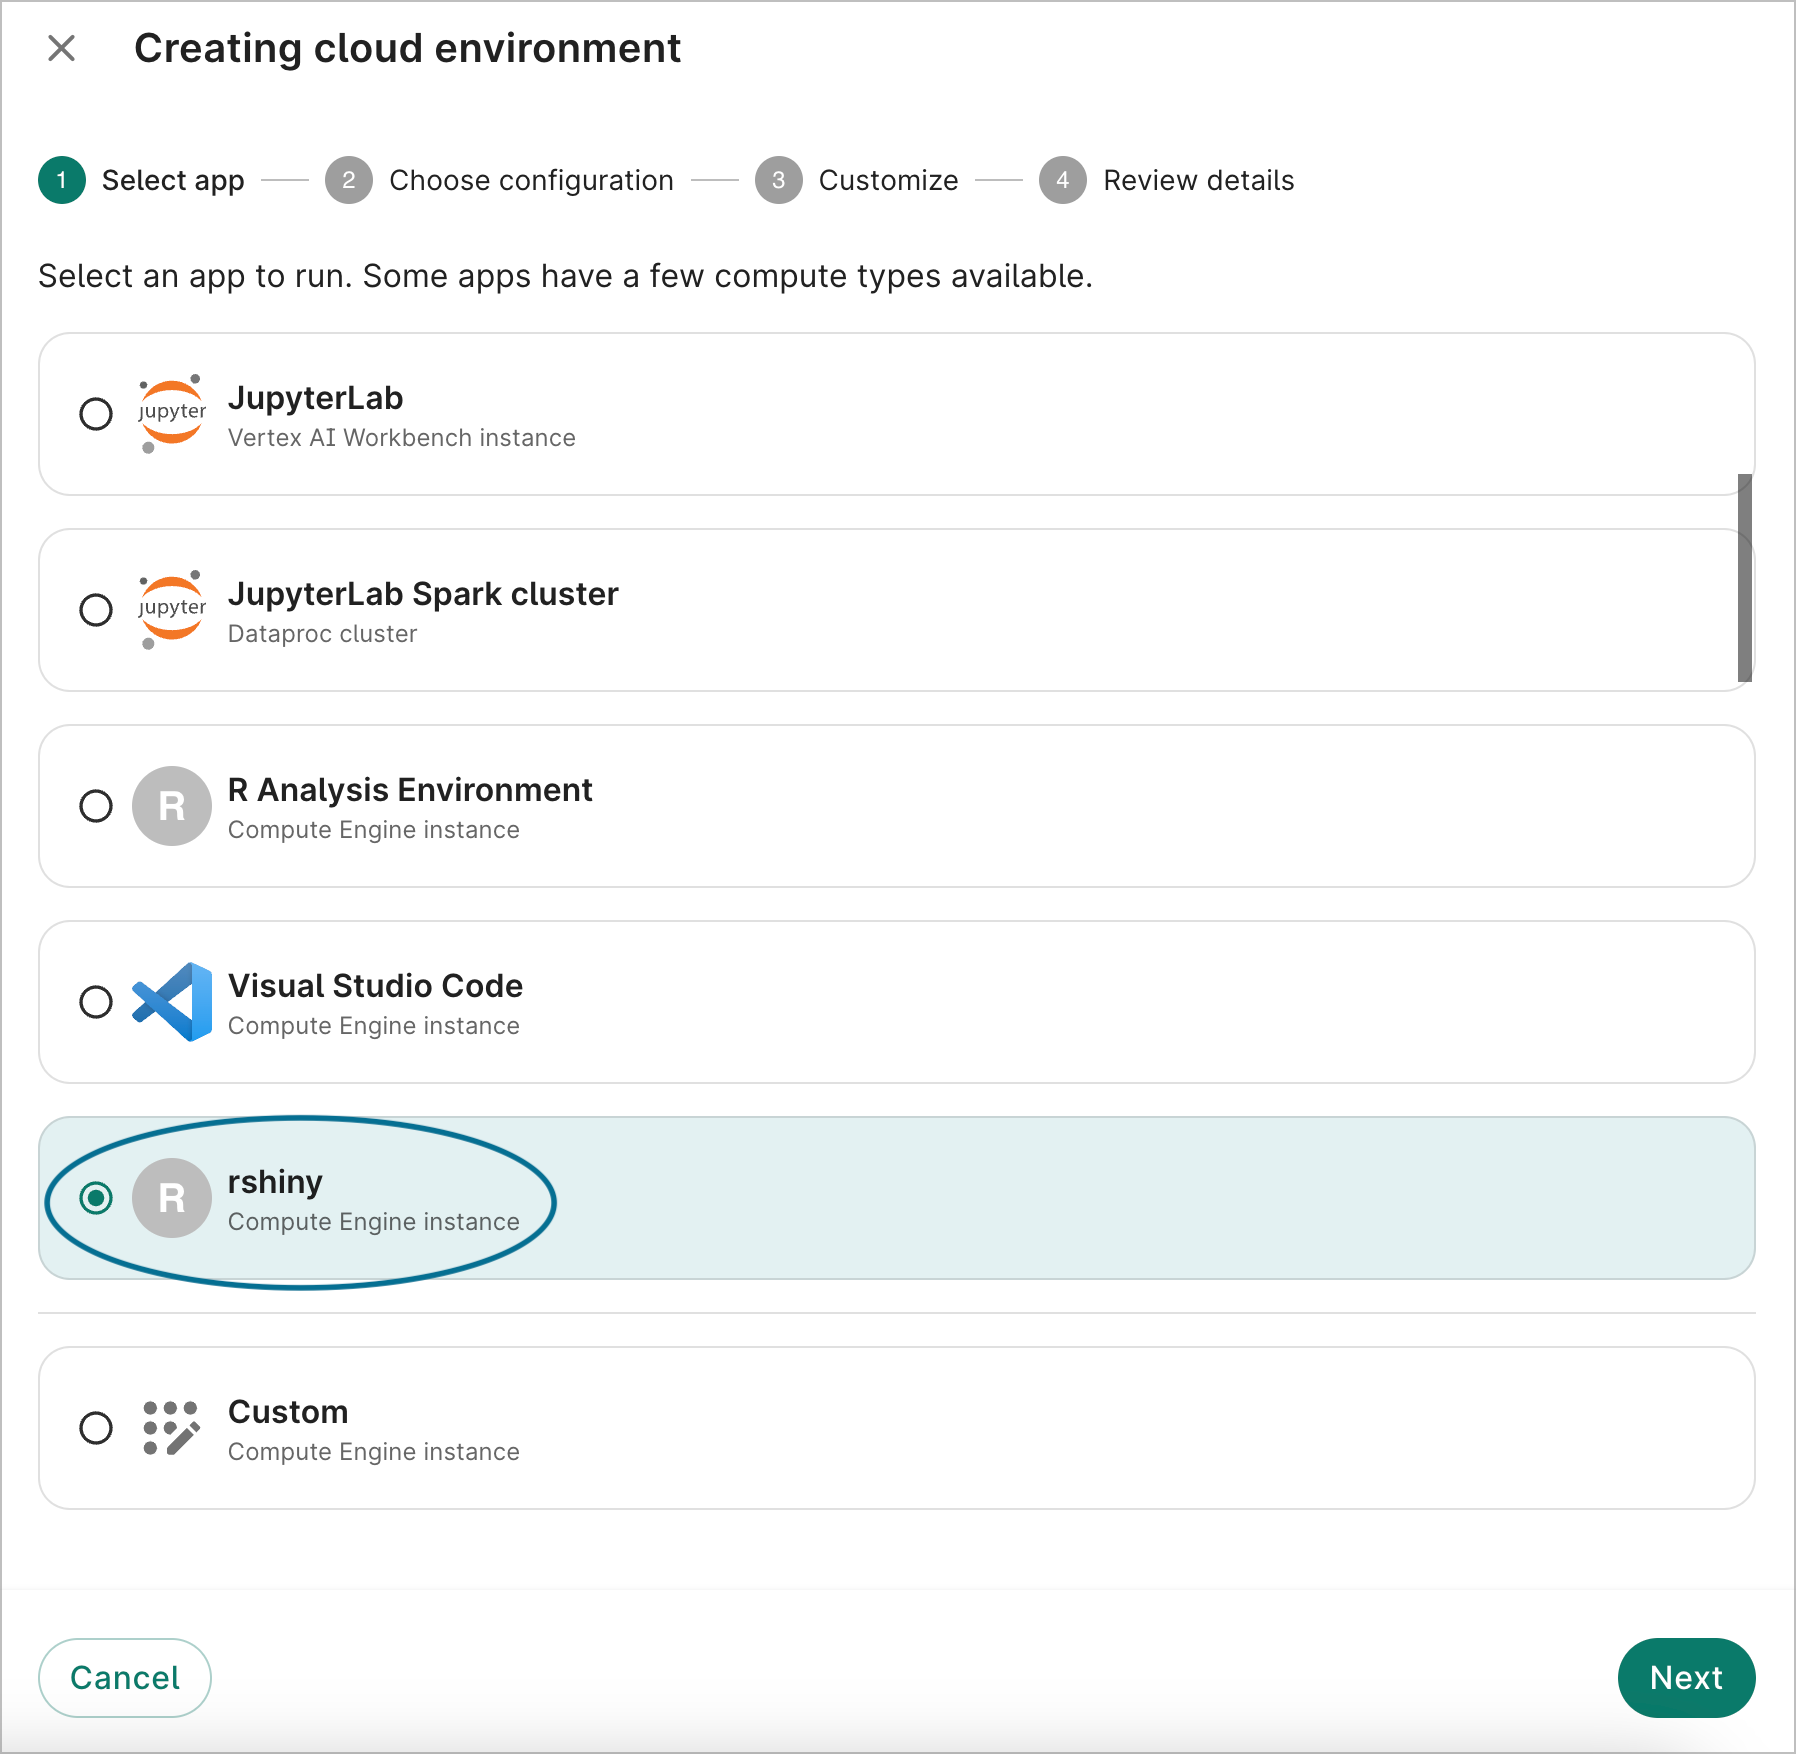
Then proceed to create your app by configuring CPUs, GPUs, and the autostop idle time. The app definition will be available for everyone in the workspace and will show up in the app dropdown next time you create a new app.
Configuring and using a cloud app
After an app reaches the RUNNING state, click on the app's name to bring up a JupyterLab Notebook server in a new window.
From this UI, you can create and run Jupyter notebooks, and use the terminal to work from the command line.
Accessing the wb command-line tool from your app
The wb command-line utility is automatically installed and
configured in your apps. From the terminal window, or from a notebook cell, you can use this utility to get information about your account, workspaces, and workspace resources. Below
are a few examples.
$ wb auth status
User email: xxxx@google.com
Proxy group email: PROXY_xxxxxxxxxxxxxxxxxxxxx@verily-bvdp.com
Service account email for current workspace: pet-xxxxxxxxxxxxxxxxxxxxx@terra-vpp-quick-rhubarb-111.iam.gserviceaccount.com
LOGGED IN
wb resource list lists all the resources defined for the current workspace:
$ wb resource list
NAME                            RESOURCE TYPE         STEWARDSHIP TYPE      DESCRIPTION
nb-repo                         GIT_REPO              REFERENCED            (unset)
nextflow_tests                  AI_NOTEBOOK           CONTROLLED            (unset)
nf-core-sample-data-repo        GIT_REPO              REFERENCED            (unset)
rnaseq-nf-repo                  GIT_REPO              REFERENCED            Respository containing a Nextflow RNA...
tabular_data_autodelete_aft...  BQ_DATASET            CONTROLLED            BigQuery dataset for temporary storag...
workbench-examples              GIT_REPO              REFERENCED            (unset)
ws_files                        GCS_BUCKET            CONTROLLED            Bucket for reports and provenance rec...
ws_files_autodelete_after_t...  GCS_BUCKET            CONTROLLED            Bucket for temporary storage of file ...
You can see details of a resource given its name:
$ wb resource describe --id ws_files
Name:         ws_files
Description:  Bucket for reports and provenance records.
Type:         GCS_BUCKET
Stewardship:  CONTROLLED
Cloning:      COPY_NOTHING
Access scope: SHARED_ACCESS
Managed by:   USER
Properties:   class Properties {
    []
}
GCS bucket name: terra-vpp-quick-rhubarb-111-ws-files
Location: US-CENTRAL1
# Objects: 0
You can use the wb resource resolve command to find the underlying resource that a name
points to. You will often see this command used in example notebooks. This makes it straightforward to work
with easily-remembered resource names and to access the underlying URI when needed.
$ wb resource resolve --id ws_files
gs://terra-vpp-quick-rhubarb-111-ws-files
Viewing and managing your cloud apps via the Cloud console
In addition to viewing the status of your apps in the Workbench web UI, you can also view them in the Google Cloud console. This provides another interface for launching JupyterLab for a notebook app, stopping/starting your apps, and making some configuration changes. (However, you must create and delete your apps via Workbench.)
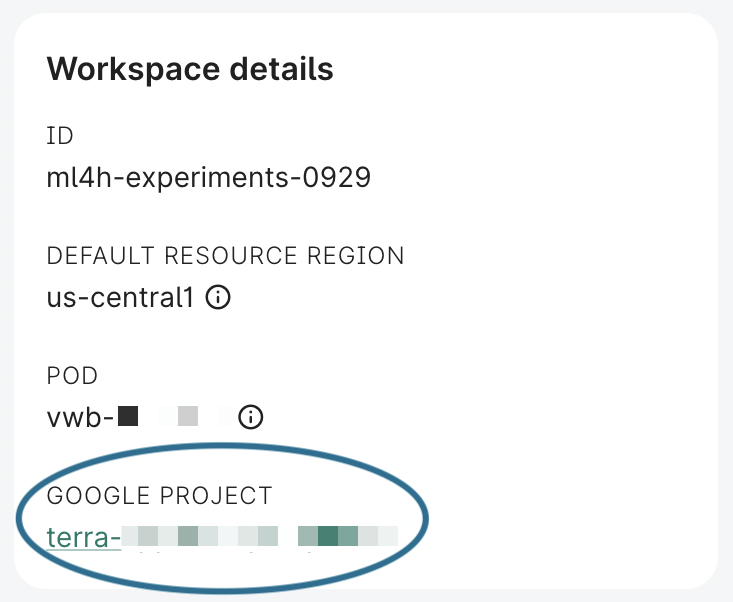
You can follow the project link in a workspace description page to visit the Cloud console for the workspace project, then visit https://console.cloud.google.com/vertex-ai/workbench/user-managed to see your apps. You can also navigate to Vertex AI >> Workbench in the Cloud console.
Specifying a container image as the basis for a notebook app
The Workbench web UI also allows you to specify a container image as the basis for an app.
A number of prebuilt containers are listed here. If you wish to create a custom container, you should use one of these containers as your base image, as they include the necessary config for successfully launching an app.
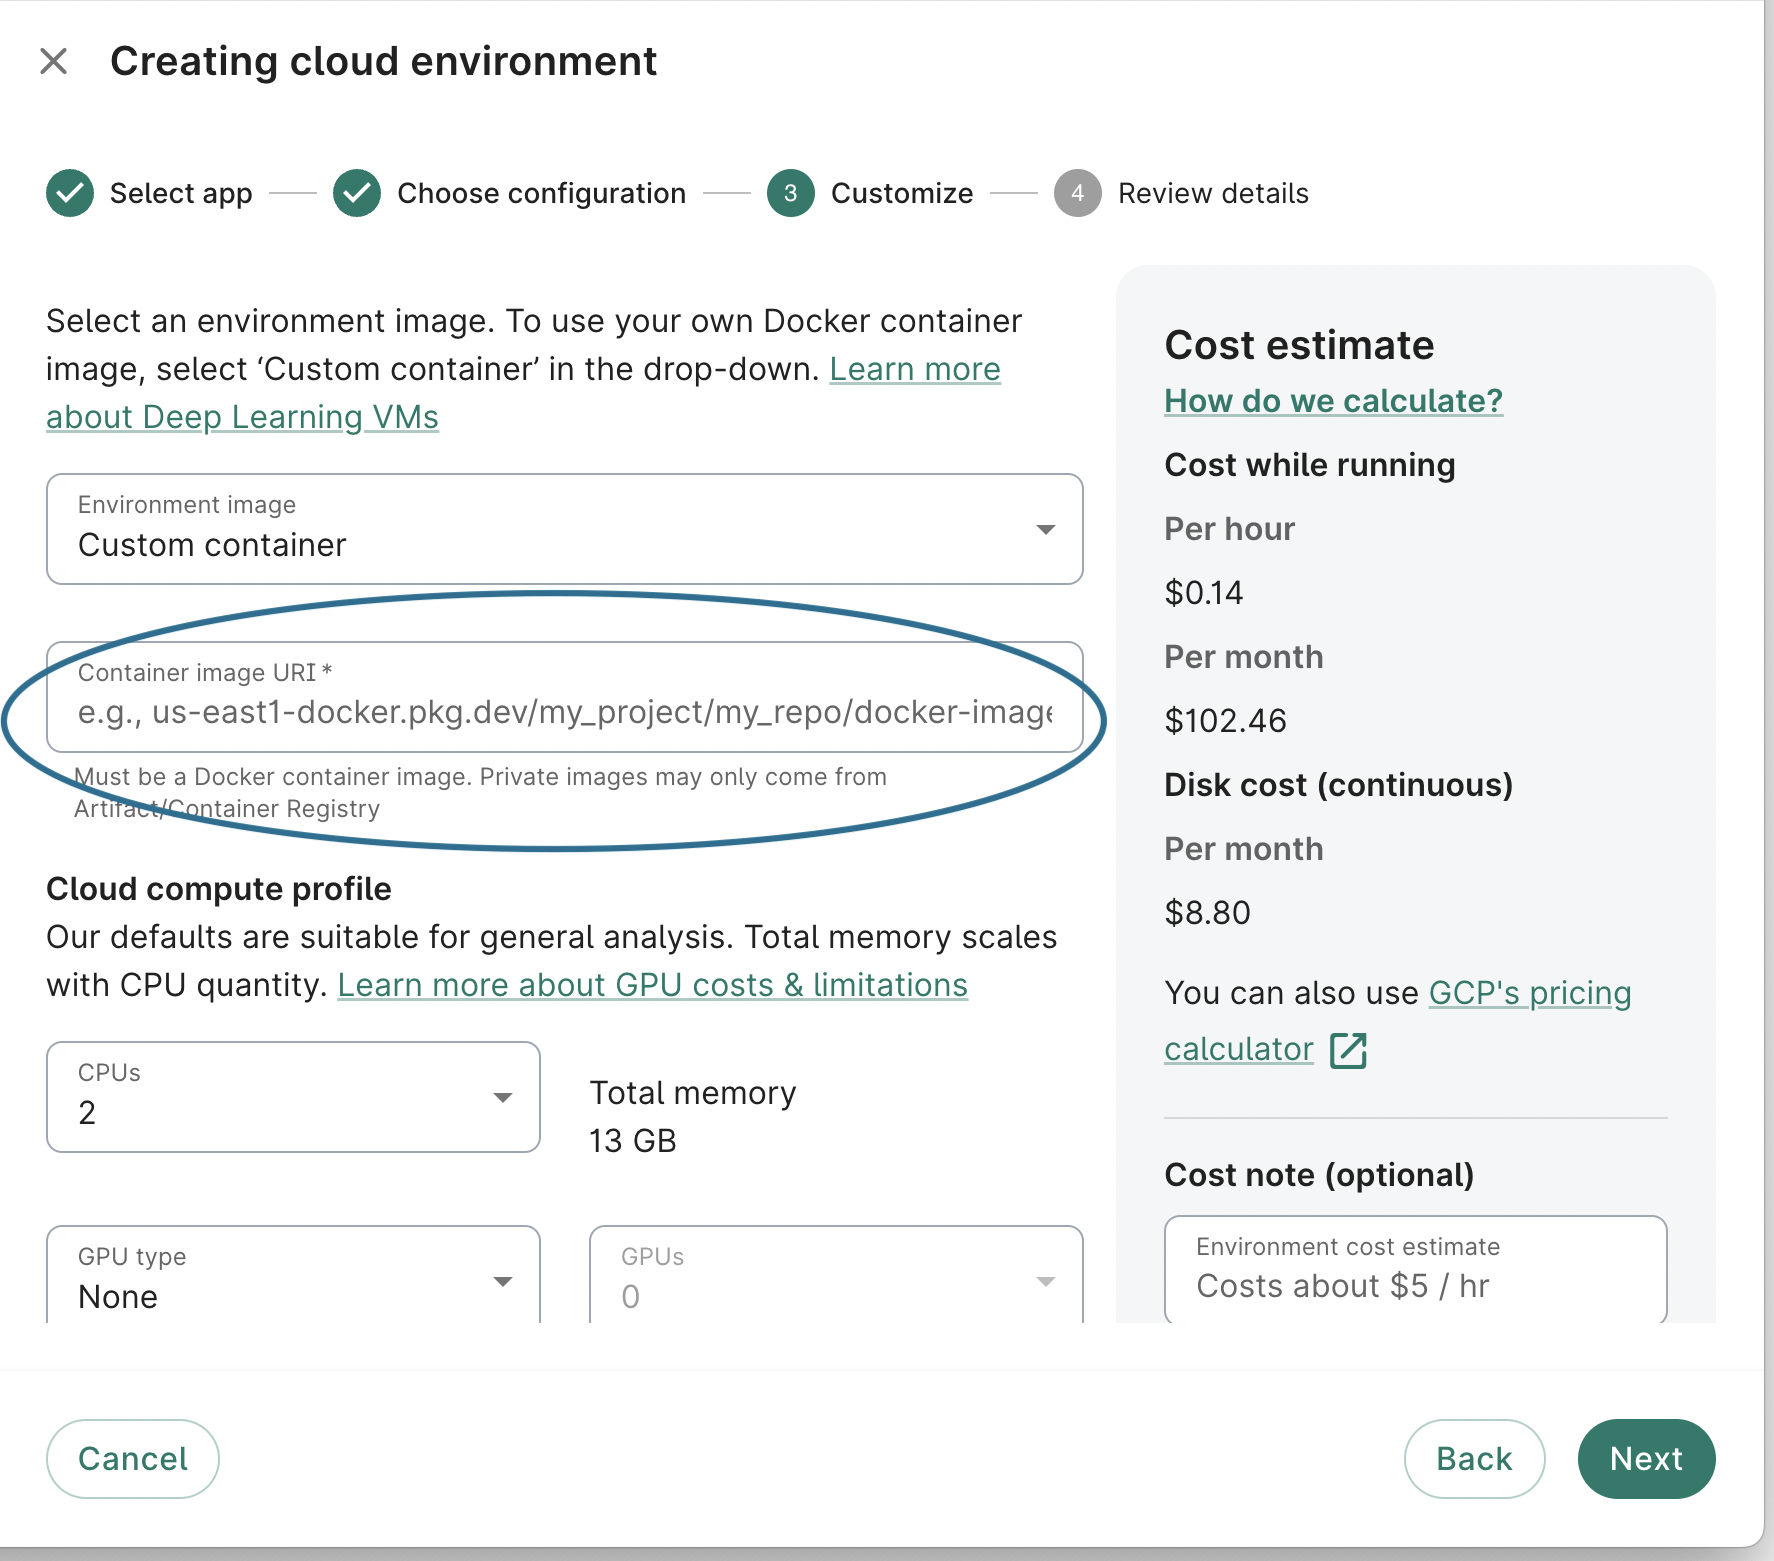
The container images you build must be Docker container images. Private images may only come from the Google Cloud Artifact Registry. See this page for more details on setting up an Artifact Registry and using Cloud Build to build and push your custom image to the registry.
Last Modified: 12 November 2024